Vue.js Learning Notes II: vue-router2.0 Quick Build SPA Project
Preface
After a few months, I decided to write another post about learning Vue.js (the last one is here).
Take this article to summarize how to use vue2.0 + webpack to quickly build SPA development framework.
Installation
Vue.js provides an official command line tool for quickly building large single page applications. The tool provides out-of-the-box build tool configurations for a modernized front-end development process. It takes just a few minutes to create and launch a project with hot reloading, static checking on save, and build configurations that can be used in production environments:
1
2
3
4
5
6
7
8
# 全局安装 vue-cli
$ npm install --global vue-cli
# 创建一个基于 webpack 模板的新项目,中途会问你Install vue-router? (Y/n)填Y安装
$ vue init webpack my-project
# 安装依赖,走你
$ cd my-project
$ npm install
$ npm run dev
Domestically you can use the cnpm command to save even more time.
A quick note on the configuration in package.json
1
2
3
4
5
6
7
8
9
10
11
12
13
14
15
16
17
18
19
20
{
    // ...
    // npm run dev 开发环境,浏览器打开https://localhost:8080/
    // npm run build 生产环境
    "scripts": {
        "dev": "node build/dev-server.js",
        "build": "node build/build.js"
    },
    // ...
    "devDependencies": {
        // 打包编译
        "webpack": "^2.2.1",
        // 中间件,webpack 热重载(开发时实时刷新)
        "webpack-dev-middleware": "^1.10.0",
        "webpack-hot-middleware": "^2.16.1",
        // 配置分离,将配置定义在config/下,然后合并成最终的配置,以避免webpack.config.js臃肿
        "webpack-merge": "^2.6.1"
    },
    // ...
}
You can change the port number and change the location where the packaged files are stored in config/index.js.
Routing configuration
Create the necessary new files, the components/file structure is as follows
1
2
3
4
5
6
7
8
.
├── hello.vue
├── about.vue
├── notfound.vue
├── posts
│   ├── hotest.vue
│   └── latest.vue
└── posts.vue
Routing configuration in src/router/index.js
1
2
3
4
5
6
7
8
9
10
11
12
13
14
15
16
17
18
19
20
21
22
23
24
25
26
27
28
29
30
31
32
33
34
35
36
37
38
39
40
41
42
43
44
45
import Vue from 'vue';
import Router from 'vue-router';
// 引入组件
import Hello from '@/components/hello';
import Posts from '@/components/posts.vue';
import Hotest from '@/components/posts/hotest';
import Latest from '@/components/posts/latest';
import About from '@/components/about';
import Notfound from '@/components/notfound';

// 挂载根实例
Vue.use(Router);

// 创建 router 实例
export default new Router({
    // 定义路由
    // 每个路由应该映射一个组件。
  routes: [
    {
        path: '/',
        name: 'Hello',
        component: Hello
    },
    {
        path: '/posts',
        name: 'posts',
        component: Posts,
        // 嵌套路由
        children: [
            { path: 'hotest', component: Hotest },
            { path: 'latest', component: Latest }
        ]
    },
    {
        path: '/about',
        name: 'about',
        component: About
    },
    {
        // 其余的不能匹配到的路由
        path: '*',
        component: Notfound
    }
  ]
})
App.vue
1
2
3
4
5
6
7
8
9
10
11
12
13
<template>
  <div id="app">
    <!-- 使用 router-link 组件来导航. -->
    <!-- 通过传入 `to` 属性指定链接. -->
    <!-- <router-link> 默认会被渲染成一个 `<a>` 标签 -->
    <!-- "是否激活" 默认类名的依据是 inclusive match(全包含匹配)。按照这个规则,<router-link to="/"> 将会点亮各个路由!想要链接使用 "exact 匹配模式",则使用 exact 属性 -->
    <router-link to="/" exact>首页</router-link>
    <router-link to="/posts">文章</router-link>
    <router-link to="/about">关于</router-link>
    <!-- 路由匹配到的组件将渲染在这里 -->
    <router-view></router-view>
  </div>
</template>
posts.vue
1
2
3
4
5
6
7
8
9
<template>
    <div id="posts">
        <h1>文章</h1>
        <router-link to="/posts/hotest">最热文章</router-link>
        <router-link to="/posts/latest">最新文章</router-link>
        <!-- 路由匹配到的组件将渲染在这里 -->
        <router-view></router-view>
    </div>
</template>
The other components will not be described in detail.
View section
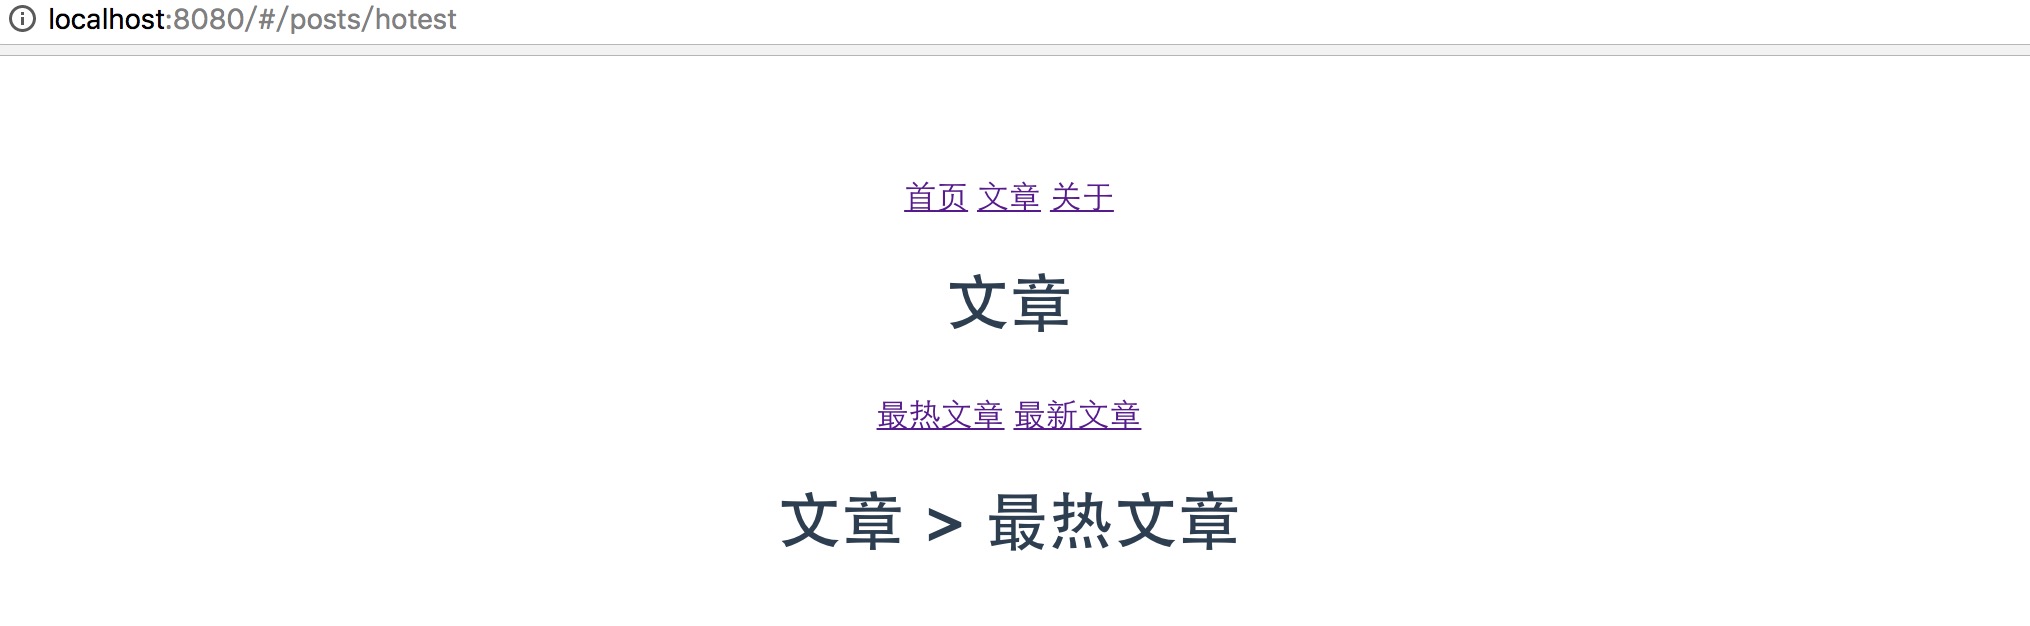
Now open your browser and you can see it looks like this. Home /

Hottest posts /posts/hotest
Introducing iView
It’s a bit ugly, right? Here we recommend a set of high-quality UI component library for Vue.js, iview. This set of component library recently for vue2.0 also launched iview2.0 version, and open source. Let’s use its navigation component here. First install iview
1
npm install iview --save-dev
Introducing iView src/main.js
1
2
3
// ...
import 'iview/dist/styles/iview.css';
// ...
src/router/index.js
1
2
3
4
5
6
7
8
9
// ...
import iView from 'iview';
// ...
Vue.use(Router);
Vue.use(iView);

export default new Router({
  // ...
})
Using components
Now you can use the UI components to your heart’s content! App.vue
1
2
3
4
5
6
7
8
9
10
11
12
13
14
15
16
<template>
  <div id="app">
    <Menu mode="horizontal" theme="dark" active-name="1">
        <Menu-item name="1">
            <router-link to="/" exact><Icon type="ios-paper"></Icon>首页</router-link>
        </Menu-item>
        <Menu-item name="2">
            <router-link to="/posts"><Icon type="ios-people"></Icon>文章</router-link>
        </Menu-item>
        <Menu-item name="3">
            <router-link to="/about"><Icon type="settings"></Icon>关于</router-link>
        </Menu-item>
    </Menu>
    <router-view></router-view>
  </div>
</template>
posts.vue
1
2
3
4
5
6
7
8
9
10
11
12
13
<template>
    <div id="posts">
        <Menu mode="horizontal" theme="light" active-name="1">
            <Menu-item name="1">
                <router-link to="/posts/hotest">最热文章</router-link>
            </Menu-item>
            <Menu-item name="2">
                <router-link to="/posts/latest">最新文章</router-link>
            </Menu-item>
        </Menu>
        <router-view></router-view>
    </div>
</template>
Basically, it’s fine, but we found an issue where the navigation doesn’t show the menu corresponding to the current route in real time when refreshing. Optimize it as follows
1
2
3
4
5
6
7
8
9
10
11
12
13
14
15
16
17
18
19
20
21
22
23
24
25
26
27
28
29
30
31
32
33
34
35
36
37
38
39
40
<template>
  <div id="app">
    <Menu mode="horizontal" theme="dark" :active-name="key">
        <Menu-item name="/">
          <router-link to="/" exact><Icon type="ios-paper"></Icon>首页</router-link>
        </Menu-item>
        <Menu-item name="/posts/hotest">
          <router-link to="/posts/hotest"><Icon type="ios-people"></Icon>文章</router-link>
        </Menu-item>
        <Menu-item name="/about">
            <router-link to="/about"><Icon type="settings"></Icon>关于</router-link>
        </Menu-item>
    </Menu>
    <router-view></router-view>
  </div>
</template>

<script>
import router from './router';
export default {
  name: 'app',
  mounted(){
    var rootKey = this.$route.path.split('/')[1];
    this.key = rootKey == '' ? '/' : rootKey;
  },
  data(){
    return {
      key: ''
    }
  }
}
</script>
<style>
/* ... */
li.ivu-menu-item a {
  display: inline-block;
  color: inherit;
  height: 60px;
}
</style>
posts.vue same thing!
Common errors
- ERROR in . /src/view/BootPage.vue
template syntax error Component template should contain exactly one root element:… Actual meaning: In vue-router 2.0, event templates can only have one root node.
(found in anonymous component - use the “name” option for better debugging messages.) What it actually means: Some directives and syntax have changed in vue-router 1.0 and vue-router 2.0.
Code address
- Experience address: https://119.29.142.213/vue2demo/#/posts/hotest
- Code address: https://github.com/seminelee/vue2-demo.git
Off-topic
Much to say it crashed and was replaced with Laibili, which is Korean -_- but doesn’t look like it’ll collapse easily. I’m sorry about all the comments I made before == I’m sorry about that. I’d like to make a comment system for my own website sometime in the future > v < (don’t make any flags)