Live Video Knowledge IV: Live Demo – RTMP Push and HTTP-FLV Pull Streams
Preface
This article mainly records the implementation of live DEMO, mainly through the RTMP push stream, through the HTTP-FLV pull stream, and play in the page.
Articles in the same series:
- Live video knowledge I: Data Acquisition and Encoding
- Live video knowledge II: Push and Pull Streams, and Server-Side Processing
- Live video knowledge III: Playback and Playback Completion
- Live video knowledge IV: Live Demo – RTMP Push and HTTP-FLV Pull Streams
1 Build a streaming server
Install Nginx with RTMP and HTTP-FLV modules added and configured. If you have already installed nginx, you can skip the installation step and add the modules directly, so I won’t repeat it here.
1.1 Installing Nginx
Take CentOS system as an example: First update the CentOS system
1
yum update
Install the development packages needed to compile nginx
1
2
3
4
yum install gcc
yum install pcre pcre-devel
yum install openssl openssl-devel
yum install wget unzip
Download nginx and nginx-http-flv-module (you can also use git clone). The nginx-http-flv-module is based on the nginx-rtmp-module, so there is no need to install the nginx-rtmp-module separately.
1
2
3
4
wget https://nginx.org/download/nginx-1.20.1.tar.gz # 可到https://nginx.org/download/查看stable版本
wget https://github.com/winshining/nginx-http-flv-module/archive/refs/heads/master.zip
tar -zxvf nginx-1.20.1.tar.gz
unzip master.zip
Add modules, compile and install nginx.
1
2
3
4
cd nginx-1.20.1
./configure --with-http_ssl_module --with-http_secure_link_module --add-module=../nginx-http-flv-module-master
make
sudo make install
After make install, nginx will be installed in the /usr/local/nginx/ directory by default.
1.2 Nginx configuration
In /usr/local/nginx/conf/nginx.conf, add the relevant configuration.
1
2
3
4
5
6
7
8
9
10
11
12
13
14
15
16
17
18
19
20
21
22
23
24
25
26
27
28
29
30
31
http {
    server {
        listen 80;
        location /flv {
            flv_live on; #打开 HTTP 播放 FLV 直播流功能
            chunked_transfer_encoding on; #支持 'Transfer-Encoding: chunked' 方式回复

            add_header 'Access-Control-Allow-Origin' '*'; #添加额外的 HTTP 头
            add_header 'Access-Control-Allow-Credentials' 'true'; #添加额外的 HTTP 头
        }
    }
}
rtmp_auto_push on;
rtmp {
    server {
        listen 1935;
        notify_method get;
        access_log  /var/log/nginx/access.log;
        chunk_size 4096;
        application live {
            # 开启直播模式
            live on;
            # 允许从任何源push流
            allow publish all;
            # 允许从任何地方来播放流
            allow play all;
            # 20秒内没有push,就断开链接。
            drop_idle_publisher 20s;
        }
    }
}
- rtmp pushstream address:
rtmp://example.com[:port]/appname/streamname
- http-flv pull stream playback address:
https://example.com[:port]/dir?[port=xxx&]app=appname&stream=streamname
More configuration can be found in nginx-http-flv-module README. Check the configuration and restart nginx.
1
2
/usr/local/nginx/sbin/nginx -t
systemctl reload nginx
1.3 Tests
You can test it by reading an mp4 file after locally download and install ffmpegffmpeg and push streaming it to the live service built above. The command is as follows, test.mp4 is the name of your local video file, live is the name of the application configured earlier, and test is the name of the customized stream.
1
ffmpeg -re -i test.mp4 -c copy -f flv "rtmp://example.com[:port]/live/test"
If you see the following message, you can start pushing the stream.
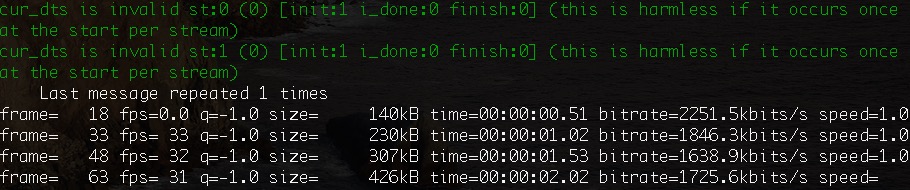
You can execute the ffplay command to watch the live streaming video locally.
1
ffplay "rtmp://example.com[:port]/live/test"
2 Data acquisition and push flow
Take windows as an example, first query the audio and video capture device of this machine:
1
ffmpeg -list_devices true -f dshow -i dummy
Push Streaming Camera and Microphone content, USB2.0 PC CAMERA and MICROPHONE (USB2.0 MIC) are the results of the above query.
1
ffmpeg -f dshow -i video="USB2.0 PC CAMERA":audio="麦克风 (USB2.0 MIC)" -vcodec libx264 -acodec aac -f flv "rtmp://example.com[:port]/live/test"
More commands can be found in ffmpeg’s documentation.
3 Pulling the stream
Developing front-end pages that pull streams with the help of flv.js.
1
2
3
4
5
6
7
8
9
10
11
12
13
14
15
16
17
18
19
20
21
22
23
24
25
26
27
28
29
30
31
32
33
34
35
36
37
38
39
40
41
42
43
44
45
46
47
48
import React, { createRef, RefObject } from 'react';
import flvjs from 'flv.js/dist/flv.js';
import './index.css';

interface IProps {
}

interface IState {
}

class Live extends React.Component<IProps, IState> {

  constructor(props: IProps) {
    super(props);
    this.state = {
    };
  }

  _videoRef = (createRef() as RefObject<HTMLVideoElement>);

  componentDidMount() {
    if (flvjs.isSupported()) {
      const videoElement = this._videoRef.current;
      try {
        const flvPlayer = flvjs.createPlayer({
          type: 'flv',
          url: 'https://example.com[:port]/flv?app=live&stream=test'
        });
        flvPlayer.attachMediaElement(videoElement);
        flvPlayer.load();
        flvPlayer.play();
      } catch (e) {
        console.error(e);
      }
    }
  }

  render() {
    return (
      <div>
        <video ref={this._videoRef} className="video" controls={true} muted={true}></video>
      </div>
    );
  }

}

export default Live;
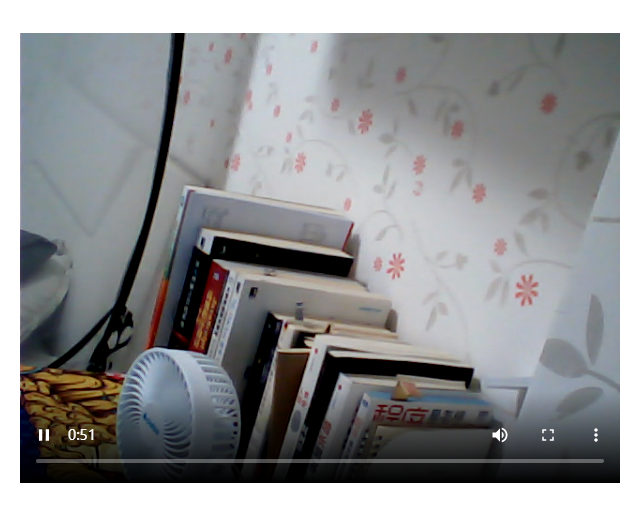
The effect is as follows: